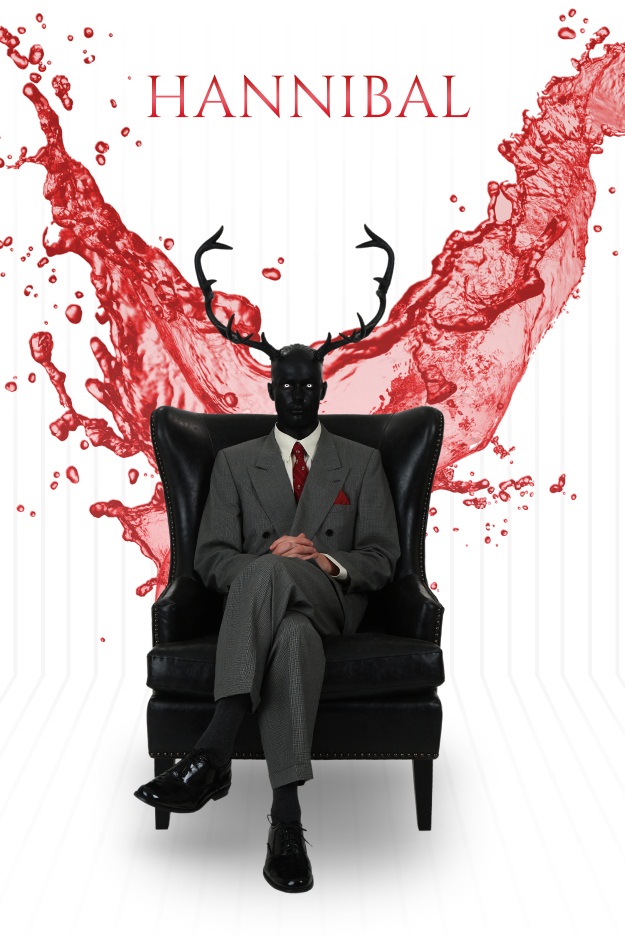
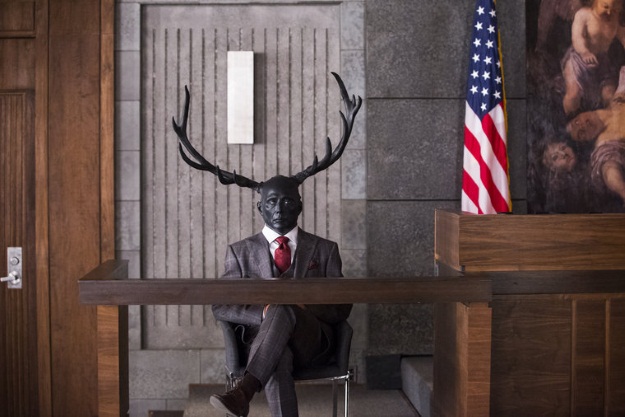
Every serial killer – real or fictitious – has a hidden beast within. For TV’s Dexter, his self-named “dark passenger” took control of the wheel during times of slaughter. In the words of real-life serial killer BTK, “factor X” drove him to kill. For NBC’s Hannibal, the unseen evil residing within Mr. Lecter is none other than the cryptic vision of “The Stag” – a dark metaphor seen through the eyes of Will Graham, the series protagonist.
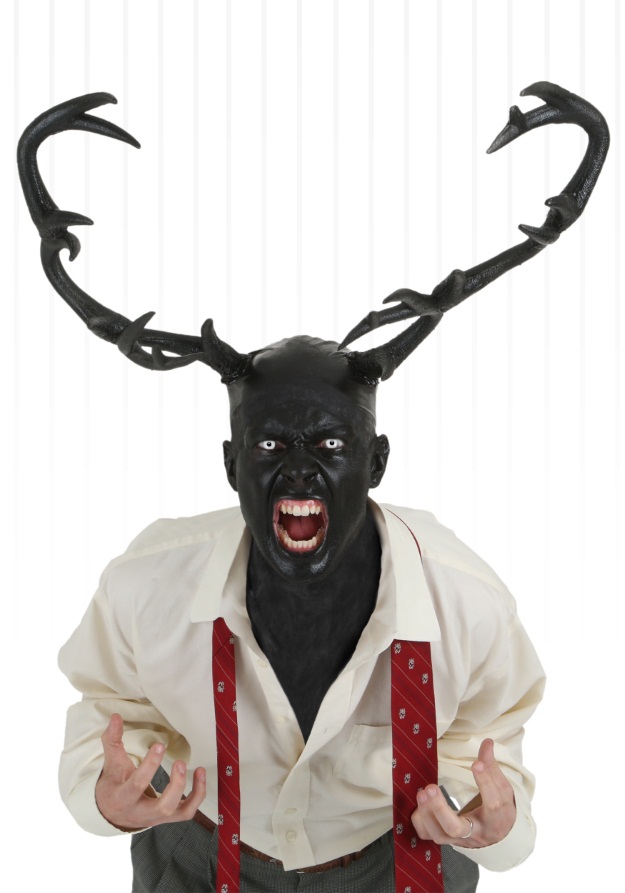
With a presence in the series so cryptic and ambiguous, this creature has taken on countless names. Rounding out the cannon, Raven Stag, the Nightmare Stag, are all accepted nomenclatures by fans.
One ‘Staggering’ Cosplay
Bearing similarities to the mythological Wendingo, this new take on Hannibal the Cannibal has cosplayers clambering to make the “black rack” an extension of their own darkest nightmares. This is the perfect costume for an inexperienced cosplayer on a budget, since it only requires the use of two HalloweenCostumes.com products, a hot glue gun, a wire coat hanger, toothpicks, and a cutting tool.
Step 1: Stalk Up (pun intended)
You can’t rightfully stalk an unwitting victim without first stocking up on the right gear to pull off this cosplay.
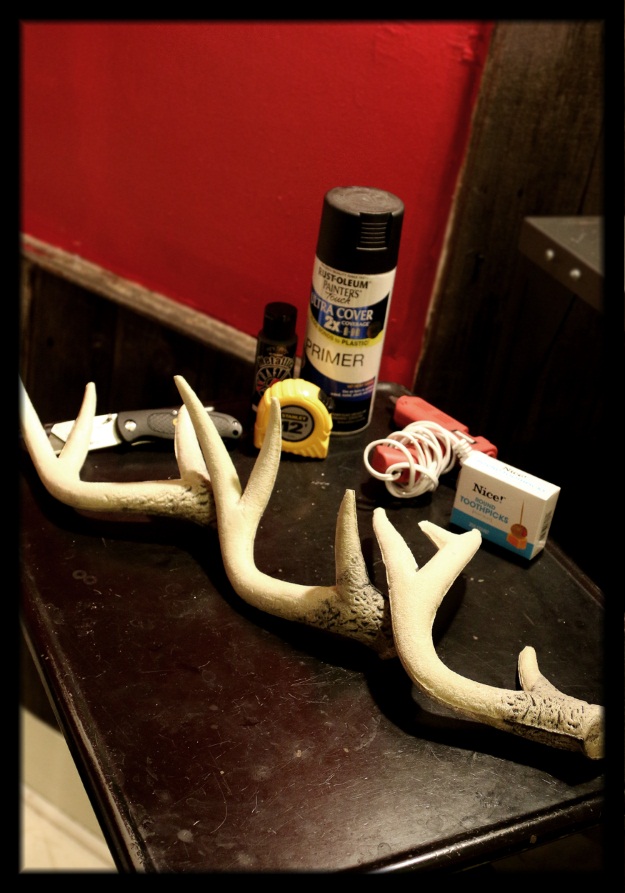
Deer Antlers - Shop
This is where our deer antlers come in very handy. We used three pairs since these antlers are only supposed to fit a seven-pointer. To get the Stag’s look, you need to think bigger. Each antlers kit has between three and four tips so be sure to choose the four point antlers for the base of each.
Step 2: Focus... Steady...
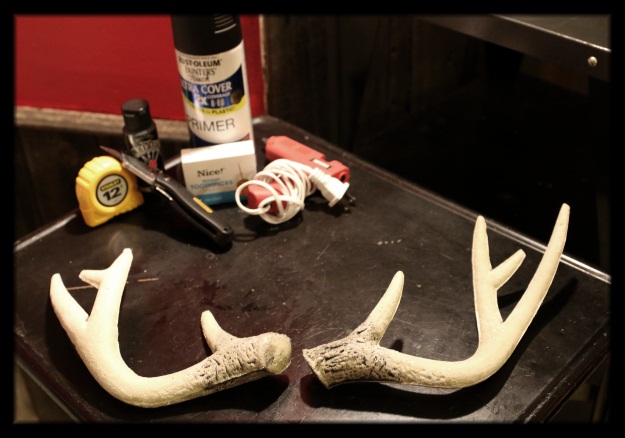
Lay out your horns. It’s easy to make a mistake at this step, but after you fuse the horns, it's nearly impossible to reverse. So slow your horsies!
Make sure each antler is turned the right direction, mirroring the opposite antler, As you will see, since the antlers are carbon copies of each other, they curve in opposite directions when made to mirror one another. To correct this issue we will use the wire coat hanger.
Step 3: Cut the Gooey Innards
These antlers are filled with a rubbery inner core that is easy to stab or puncture. Use this attribute to your advantage by cutting the middle-antlers at the 45-degree angle necessary to adhere them to the base antlers. You really just need to eyeball this portion of the project. Lay one antler over the other at the point of intersection, and get ready to use hot glue to stick the two pieces together.
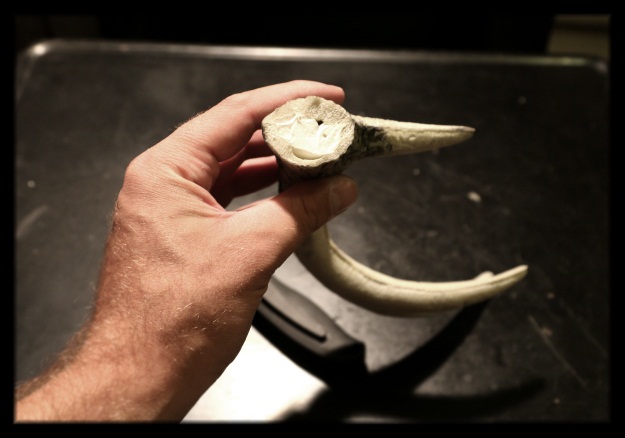
Repeat this process with the third set, figuring out where you want to attach it to the second set. Fortunately, antlers are organic enough that it doesn’t need to be perfect!
Step 4: The Hard Part
Negotiate with the material – that’s the essence of cosplay. All best laid plans go out the window when the hot glue gun hits the scene. Try and be as flexible as the materials you are working with. Test the right configuration of the antlers by holding them up to the picture of the Stag as you find the optimal placement for each.
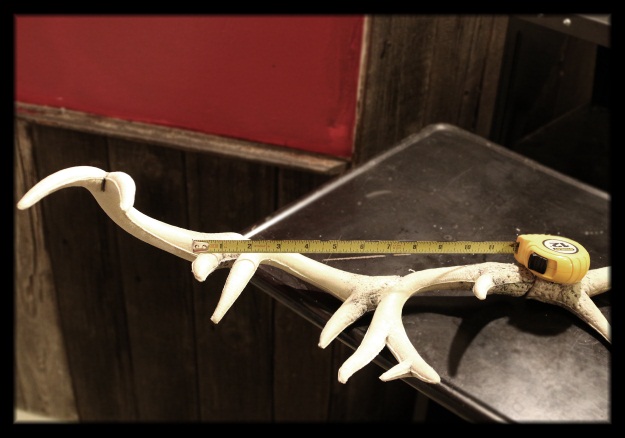
Once you have the right configuration decided, “stitch” your antler segments together with six inch segments of your coat hanger. The hanger can be cut with needle nose pliers. Just stab the hanger through the middle of each adjoining piece to bridge the gaps.
In addition to the hanger wire, we gave our antlers extra stability by sticking toothpicks into the antler joints as well. Once you have them positioned just right, slide the pieces away from each other about a quarter of an inch to create a small gap, squirt the hot glue onto both adjoining pieces, and firmly press the two pieces together, holding until dry.
Step 5: Achieve the Mirroring Effect
Since you used the same set of antlers three times on each side of your head, naturally they are mirror images of one another. They should be virtually identical if all has gone well. Since one goes on the right and the other goes on the left, thought, you'll need to bend one of the antlers so they mirror each other.
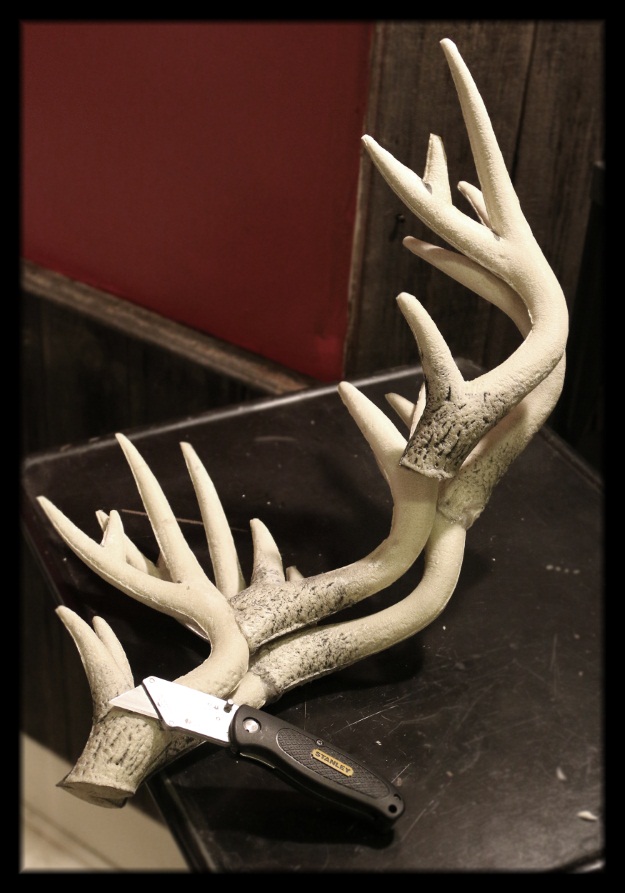
Here is where the hanger wire comes in handy. Slowly bend the wire until you achieve the desired effect. For us perfectionists, the toothpicks really came in handy when creating the subtle, incremental bends.
Step 6: Defy Gravity
This is where these antlers are really impressive. Since they are so light to begin with, gluing them onto a bald cap can literally get them to stand straight and defy gravity. But see how they are still drooping in the picture?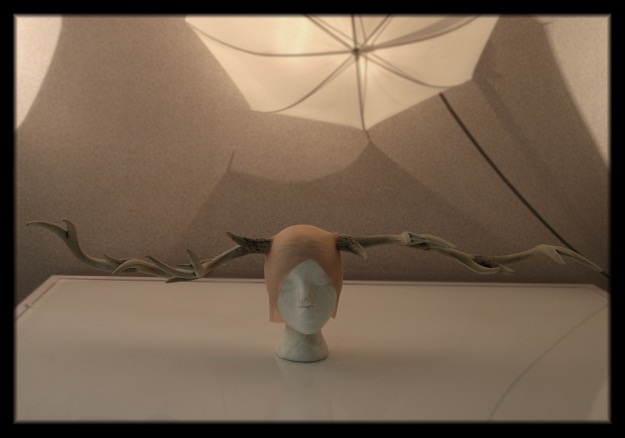
Well that’s nothing a little more wire and toothpicks can’t solve. Get crafty and creative here, and with enough twisting and prodding you can slowly get them to turn up like in the final pics above.
Step 7: Paint it Black!
We used a semi-gloss, black spray-paint to paint the whole thing stark black. Make sure to let it thoroughly dry before using spirit gum to stick the bald cap to your head. Not only would you suffer the fumes, but you would probably leave little finger prints all over the place.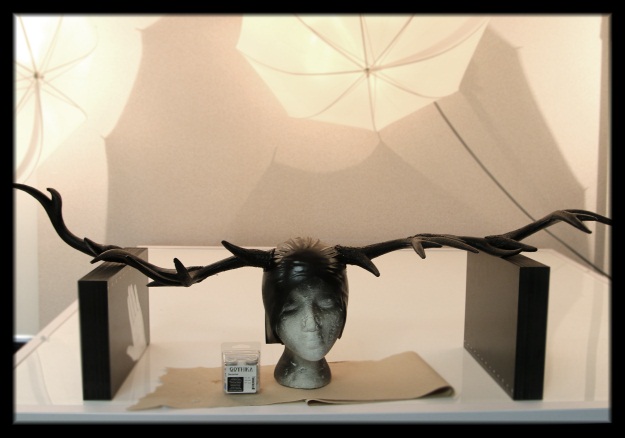
The last trick is to paint your face, neck, and ears midnight black. We also suggest wearing white out eye contact lenses to make you look inhuman in the best way.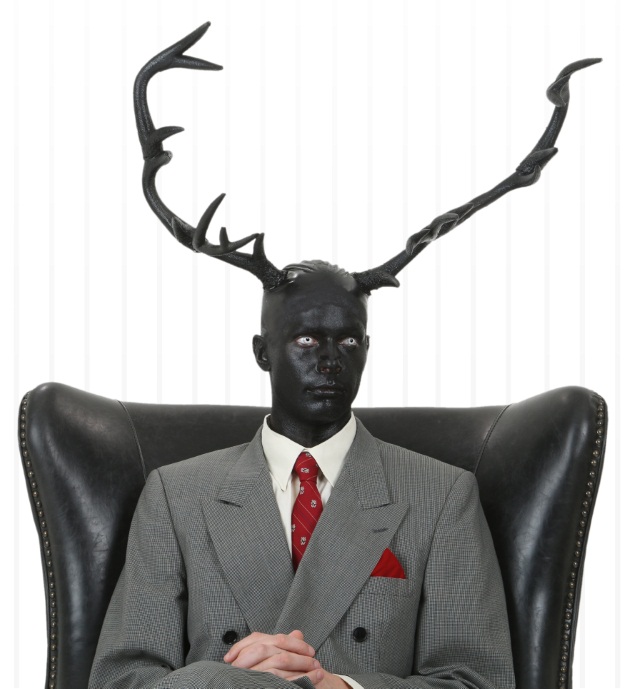
Finish off the look with a sharp suit, and you're ready to sit back and enjoy some liver and fava beans with a nice bottle of Chianti <slurp, slurp, slurp, slurp>! Fine, you got us! That’s Hopkins’ Hannibal, not Mikkelsen’s, but it had to be said…

