
Are plain skeleton decorations not doing it for you anymore? Learn how to take a skeleton from drab to fab with this disco skeleton DIY—like the skelly from Ali Spagnola's video that's been going around, but not as extra! You only need a few things to get started, but make sure to give yourself plenty of time to finish before Halloween. (And that especially depends on the size of your skeleton!) Keep reading to see how to make the coolest skeleton decoration on the block!
What You Need to Make a Disco Skeleton
| 5' Poseable Skeleton Decoration | Chrome or Silver Spray Paint | Mirror Tiles | Hot Glue Gun |
To start, you need a skeleton decoration. You will also need chrome or silver spray paint, mirror tiles, and a glue gun. Your mirror tiles may have adhesive backing, but that is likely not enough to get them to stick for long. (Not to mention the wear and tear of storage and reuse!) Also, pay careful attention to the size of the tiles. Larger tiles may cover your skeleton faster, but they won't work well on fine details, especially if your skeleton is smaller. We used a five-foot-tall skeleton and covered it in five-millimeter square mirror tiles, which we purchased for $27 per roll of 16,000 tiles. We ended up needing a little more than one roll, but depending on the size of the skeleton you intend to cover, your material needs may be a little different.
Disco Skeleton Directions
- Spray paint your entire skeleton, either chrome or silver. Small details are difficult to cover with mirror tiles, and a similar color will better disguise these areas than leaving them the original bone color.
- Grab your glue gun and start attaching mirror tiles. You may want to wear protective gloves as mirror tiles are glass and can cut you!
- It's easier if you pick a starting area and work your way out from that point, especially on larger surfaces. For example, if you start on one side of the skull and have someone else helping you on the other side, you might not meet perfectly in the middle due to the size and rigidity of your mirror tiles. Prevent awkward gaps!
- Keep going until your entire skeleton is covered! Once you have the front and sides done, flip it over and continue on the back side. Remember to start at the edge of where your mirror tiles end to keep gaps to a minimum.
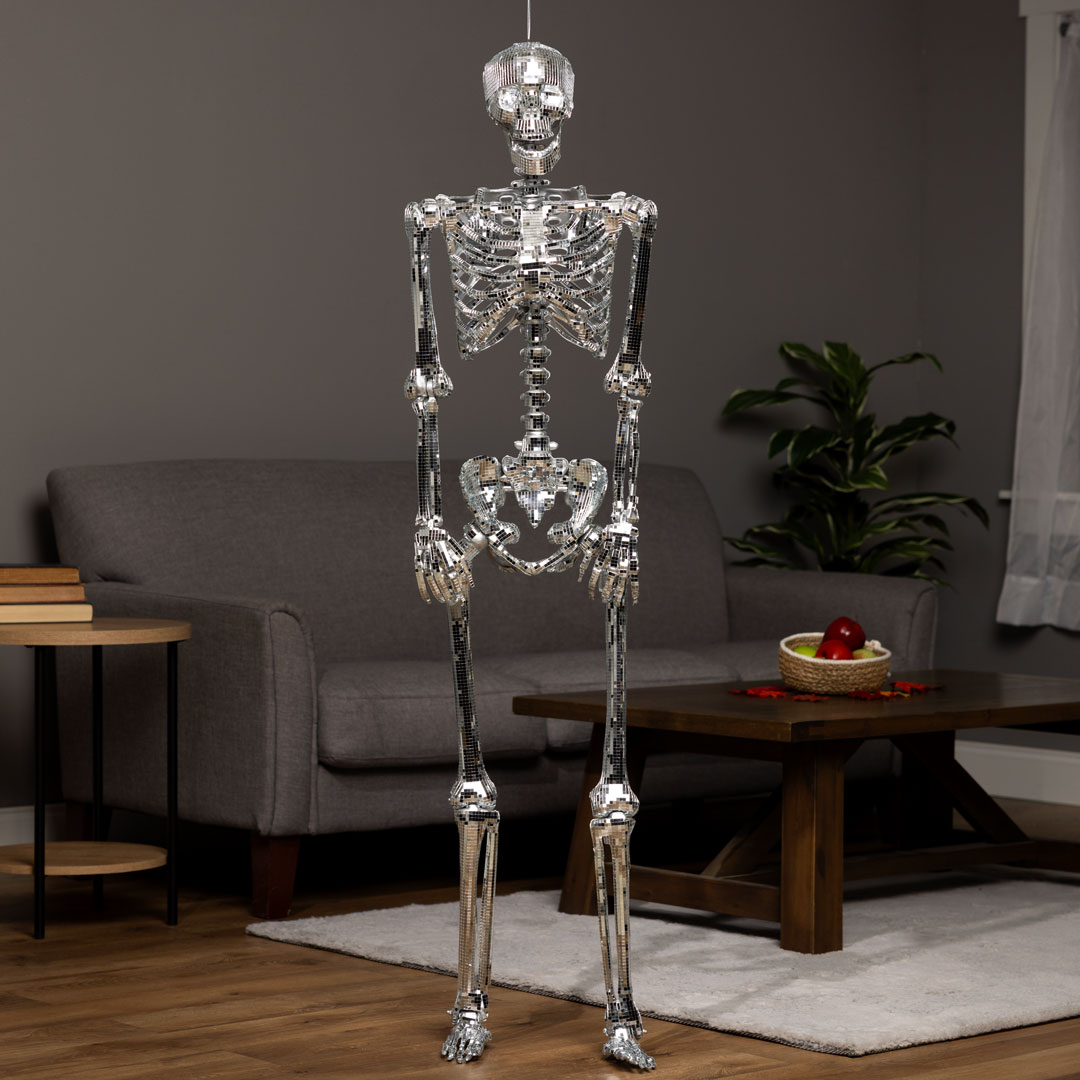
Finished Disco Skeleton
Your completed mirror tile skeleton is ready to shine! When displaying your skeleton, we highly recommend using lights so it sparkles like a disco ball. If you have some mirror tiles left over, you could cover a matching pumpkin or two or perhaps some other Halloween decoration. Get ready to boogie oogie oogie!
More Disco Skeleton Pictures
We hope you get the chance to try this fun skeleton DIY for yourself! What other creative things have you done with your skeleton decorations? Is there another Halloween DIY you'd like to watch us tackle? Let us know in the comments! We hope you love your new disco skeleton decoration.

